ID 혹은 Password 를 실시간으로 검사하는 기능을 원한다면 이 글을 참고해보자!
우선 텍스트 필드를 띄우고,
TextField 속 Text 의 확인을 위한 Label을 만들어준다.
class ViewController: UIViewController{
    private let textField : UITextField = {
        let textField = UITextField()
        textField.placeholder = "문자열 입력"
        textField.backgroundColor = .cyan
        return textField
    }()

    private let checkLabel : UILabel = {
        let label = UILabel()
        label.backgroundColor = .gray
        label.textColor = .black
        label.text = "5글자를 넘지 않았습니다."
        return label
    }()

    override func viewDidLoad() {
        super.viewDidLoad()
        view.addSubview(textField)
        view.addSubview(checkLabel)
    }

    override func viewDidLayoutSubviews() {
        super.viewDidLayoutSubviews()
        textField.frame = CGRect(x: 30, y: 100, width: view.frame.width-60, height: 50)
        checkLabel.frame = CGRect(x: 30, y: 300, width: view.frame.width - 60, height: 50)
    }
}
이제 TextField 속 Text의 글자 수를 검사해보자!!
TextField의 값을 검사하는데는 Delegate 가 필요없다.
addTarget을 이용해서 구현해보자.
override func viewDidLoad() {
        super.viewDidLoad()
        view.addSubview(textField)
        view.addSubview(checkLabel)
        //editingChanged 로 해주어야 실시간으로 검사가 가능하다!
        textField.addTarget(self, action: #selector(chechText), for: .editingChanged)
    }

    @objc private func chechText(){
        if(textField.text?.count ?? 0 < 5){
            checkLabel.backgroundColor = .gray
            checkLabel.textColor = .black
            checkLabel.text = "5글자를 넘지 않았습니다."
        }else{
            checkLabel.backgroundColor = .red
            checkLabel.textColor = .white
            checkLabel.text = "5글자를 넘었습니다!"
        }
    }
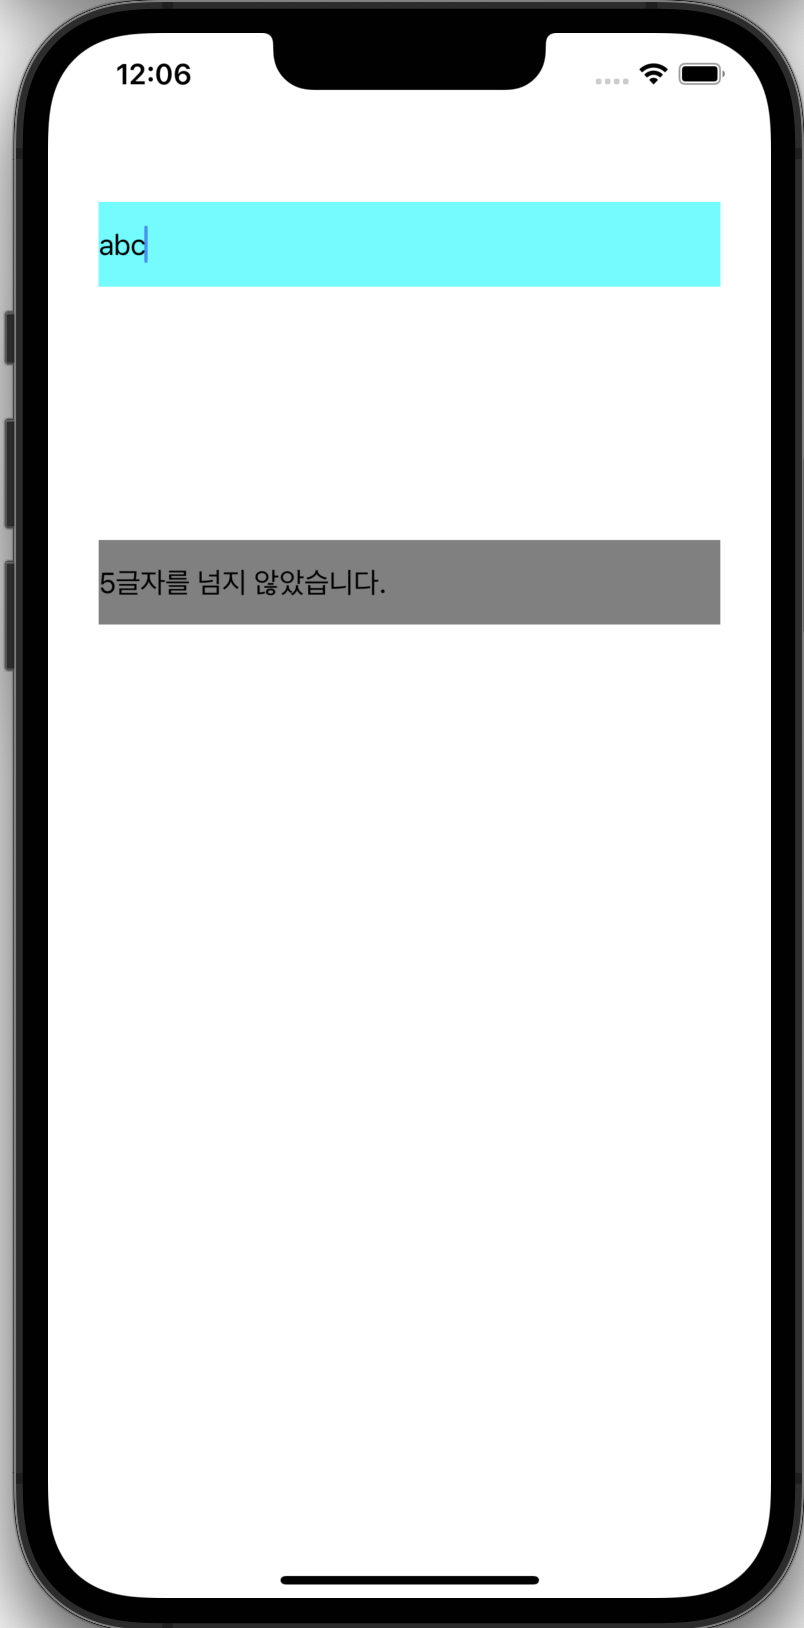
이제 실행해보면 아래와 같은 결과가 나올 것이다.

전체코드
import UIKit
import Foundation


class ViewController: UIViewController{
    private let textField : UITextField = {
        let textField = UITextField()
        textField.placeholder = "문자열 입력"
        textField.backgroundColor = .cyan
        return textField
    }()

    private let checkLabel : UILabel = {
        let label = UILabel()
        label.backgroundColor = .gray
        label.textColor = .black
        label.text = "5글자를 넘지 않았습니다."
        return label
    }()

    override func viewDidLoad() {
        super.viewDidLoad()
        view.addSubview(textField)
        view.addSubview(checkLabel)
        //editingChanged 로 해주어야 실시간으로 검사가 가능하다!
        textField.addTarget(self, action: #selector(chechText), for: .editingChanged)
    }
    @objc private func chechText(){
        if(textField.text?.count ?? 0 < 5){
            checkLabel.backgroundColor = .gray
            checkLabel.textColor = .black
            checkLabel.text = "5글자를 넘지 않았습니다."
        }else{
            checkLabel.backgroundColor = .red
            checkLabel.textColor = .white
            checkLabel.text = "5글자를 넘었습니다!"
        }
    }

    override func viewDidLayoutSubviews() {
        super.viewDidLayoutSubviews()
        textField.frame = CGRect(x: 30, y: 100, width: view.frame.width-60, height: 50)
        checkLabel.frame = CGRect(x: 30, y: 300, width: view.frame.width - 60, height: 50)
    }
}'iOS > UIKit' 카테고리의 다른 글
| [UIKit] : CocoaPods 설치, 라이브러리 (SnapKit + Then)사용하기 (0) | 2022.09.20 |
|---|---|
| [UIKit] : UITextField 키보드 올리고 내리기 (2) | 2022.09.11 |
| [UIKit] : CollectionView Header 만들기 - (UICollectionReusableView) (0) | 2022.09.02 |
| [UIKit] : CollectionView 생성, Cell 등록하기 (0) | 2022.09.02 |
| [UIKit] : UIButton 속 이미지 크기 조절하기 (0) | 2022.08.25 |